Download the Posing Checklist →
The Short Answer
Come as you are and follow direction as it comes. Before the first frame, you will get specific instructions for where to put your hands, how to angle your body, and what to do with your chin. None of that needs to be figured out in advance. The notes below build familiarity, not a routine.
Your Hands
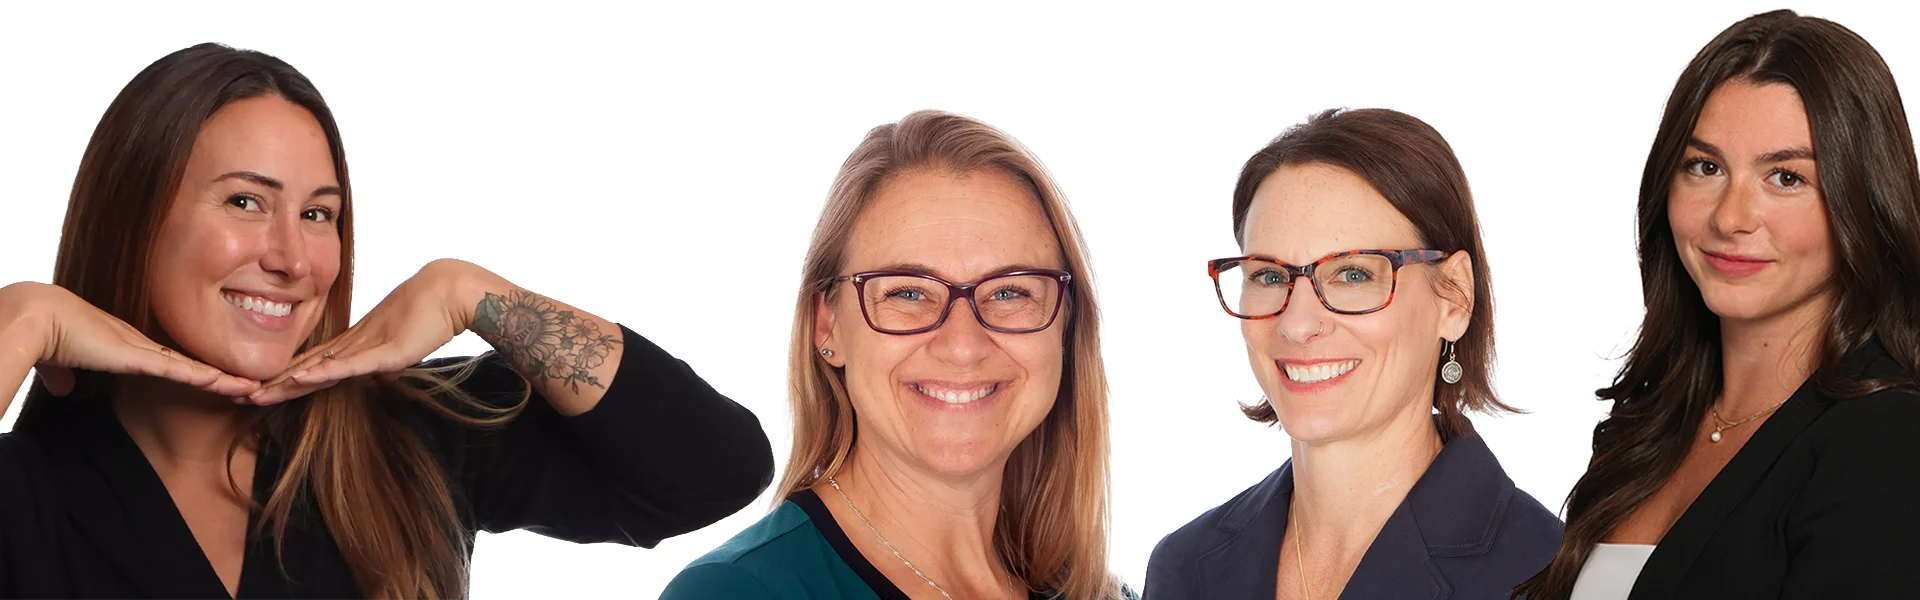
Hands are one of the most visible elements in a portrait and one of the most common sources of tension. The goal is a relaxed, intentional shape rather than a position that looks rigid, forgotten, or stuffed into a pocket.
For women
- Lightly touch your fingers together to create relaxed, gentle shapes.
- Rest one hand lightly on your hip to create shape through the waist.
- Hold a jacket lapel or a soft fold of fabric for a natural, effortless position.
- Hold a thumb or play lightly with a ring for a subtle, grounded look.
For men
- Lightly punch one hand into the other at waist height. This squares the shoulders and reads as confident.
- Rest thumbs in pockets while keeping fingers relaxed outside.
- Hold a jacket lapel, adjust a cuff, or clasp your hands loosely at waist height.
- One hand in a pocket with the other hanging naturally is a reliable default.
- Flat palms toward the camera. They look large and stiff.
- Clenched fists or hands jammed deep into pockets. Both read as tense.
- Hands dangling straight down without intention. They draw the eye and look unresolved.
- Both hands buried in pockets. It collapses the shoulder line.
Posture and Body Position
A small shift in body angle changes how a photo reads significantly. Most people default to standing straight-on to the camera, which is rarely the most flattering option.
- Stand tall with a long spine and shoulders relaxed, not pulled back stiffly.
- Lean slightly forward from the waist to bring your face closer to the camera.
- Shift your weight onto your back foot for a natural, unstiffened stance.
- Angle your body about 30 degrees rather than facing the camera straight on. This creates depth and reduces the flat, passport-photo look.
- Slouching. It reads as disengaged and is very difficult to retouch.
- Leaning backward. It creates distance from the camera and adds weight to the lower face.
- Locking your knees. It affects posture from the ground up and often shows as tension through the whole body.
Face, Chin, and Expression
Most people default to lifting the chin when a camera comes out. The opposite is usually better.
- Bring your chin slightly forward and a little down. This defines the jawline and prevents the face from flattening against the background.
- Soften your mouth and eyes by taking a slow breath out before each frame. A breath reset between shots produces more natural results than trying to hold an expression.
- Think of a real moment, memory, or feeling you want to project rather than constructing a manufactured expression.
- A small, genuine expression reads better on camera than a wide held smile. Photographers look for the moment of real expression, not a held pose.
- Chin lifted too high. It shows too much neck, changes the angle of the jaw, and often reveals the nostrils.
- Eyes opened too wide. It reads as tense or startled rather than engaged.
- Tension held in the jaw or lips. Shake it out and reset between shots if needed.
Eyes and Direction
The photographer will tell you where to direct your eyes before each frame. Following that direction rather than deciding for yourself produces more consistent results.
- Looking directly into the lens reads as confident and direct. It is the standard starting point for most professional headshots.
- Looking just above or to one side of the camera softens the expression and gives a slightly more relaxed read.
- A slow blink just before the frame refreshes the eyes and removes the strained look of holding a stare.
- Follow direction such as "eyes to me" or "eyes to the window" as it comes. You do not need to anticipate it.
- Staring too hard into the lens. It reads as aggressive rather than confident.
- Looking down frequently. It creates heavy eyelids and deep shadows under the eyes.
Before the Session
A short practice session at home helps build familiarity without building a rigid routine.
- Stand in front of a mirror and notice which side you prefer. Mention it before the session starts so it can inform the initial framing.
- Try one or two hand positions so they don't feel foreign on the day.
- Take a few phone photos to see how chin position and shoulder angle change the look. Most people are surprised by how much a small chin adjustment does.
- Focus on feeling loose rather than looking perfect. The photographer will handle the rest.
If looking natural on camera is your main concern, there is more detail in How to Look Natural in Professional Headshots.
Frequently Asked Questions
- Do I need to know how to pose before my session?
- No. The photographer will direct every specific adjustment as the session progresses: where to put your hands, how to angle your body, what to do with your chin. These notes are to build familiarity, not to prepare a routine. Nothing here needs to be memorized in advance.
- What should I do with my hands?
- Let them relax into a light, intentional shape. Touching fingers together lightly, resting a thumb, holding a lapel, or placing one hand loosely in a pocket all read better than hands that are clenched, dangling, or completely hidden. The photographer will give specific direction at the start of the session.
- How do I avoid looking stiff?
- Most stiffness settles naturally within the first few minutes. Breathing between shots helps. The first frames are warm-up and are not expected to be the final results. Following the photographer's small adjustments as they come gives you something specific to focus on, which tends to reduce self-consciousness faster than trying to relax on your own.
- What should I do with my chin?
- Bring it slightly forward and a little down, not up and back. Most people instinctively lift the chin when a camera appears, which flattens the jawline. A small forward tilt brings the face toward the camera, defines the jaw, and generally produces a stronger result. This will be directed during the session.
- Should I practice before the session?
- Light mirror practice is useful. A few minutes of standing in front of a mirror, noticing which side you prefer and trying a hand position or two, is enough. Over-practicing leads to rehearsed expressions that read as such. Familiarity is the goal, not a choreographed pose.
- What if I prefer one side of my face?
- Mention it at the start of the session. It can inform the initial framing, lighting setup, and angle. Most photographers will work with a preferred side when it matters to the client.